Hi Everyone! I made it back from Edinburgh in one piece and had a wonderful time. More on that in another post, but in the meantime I have a haul video for you of the crafty goodies I bought in July and August.
Don't forget that the 30 Day Coloring Challenge starts on Friday 1st for a whole month. I believe this is number 8 and you can read about my previous exploits (July 2016 - Week 1, Week 2, Week 3, Week 4) and I have a video on how I usually prepare - if I have the time. I still have quite a lot of images I stamped previously to colour in for this challenge - and of course a whole pile of new stuff!! Happy Crafting Everyone!
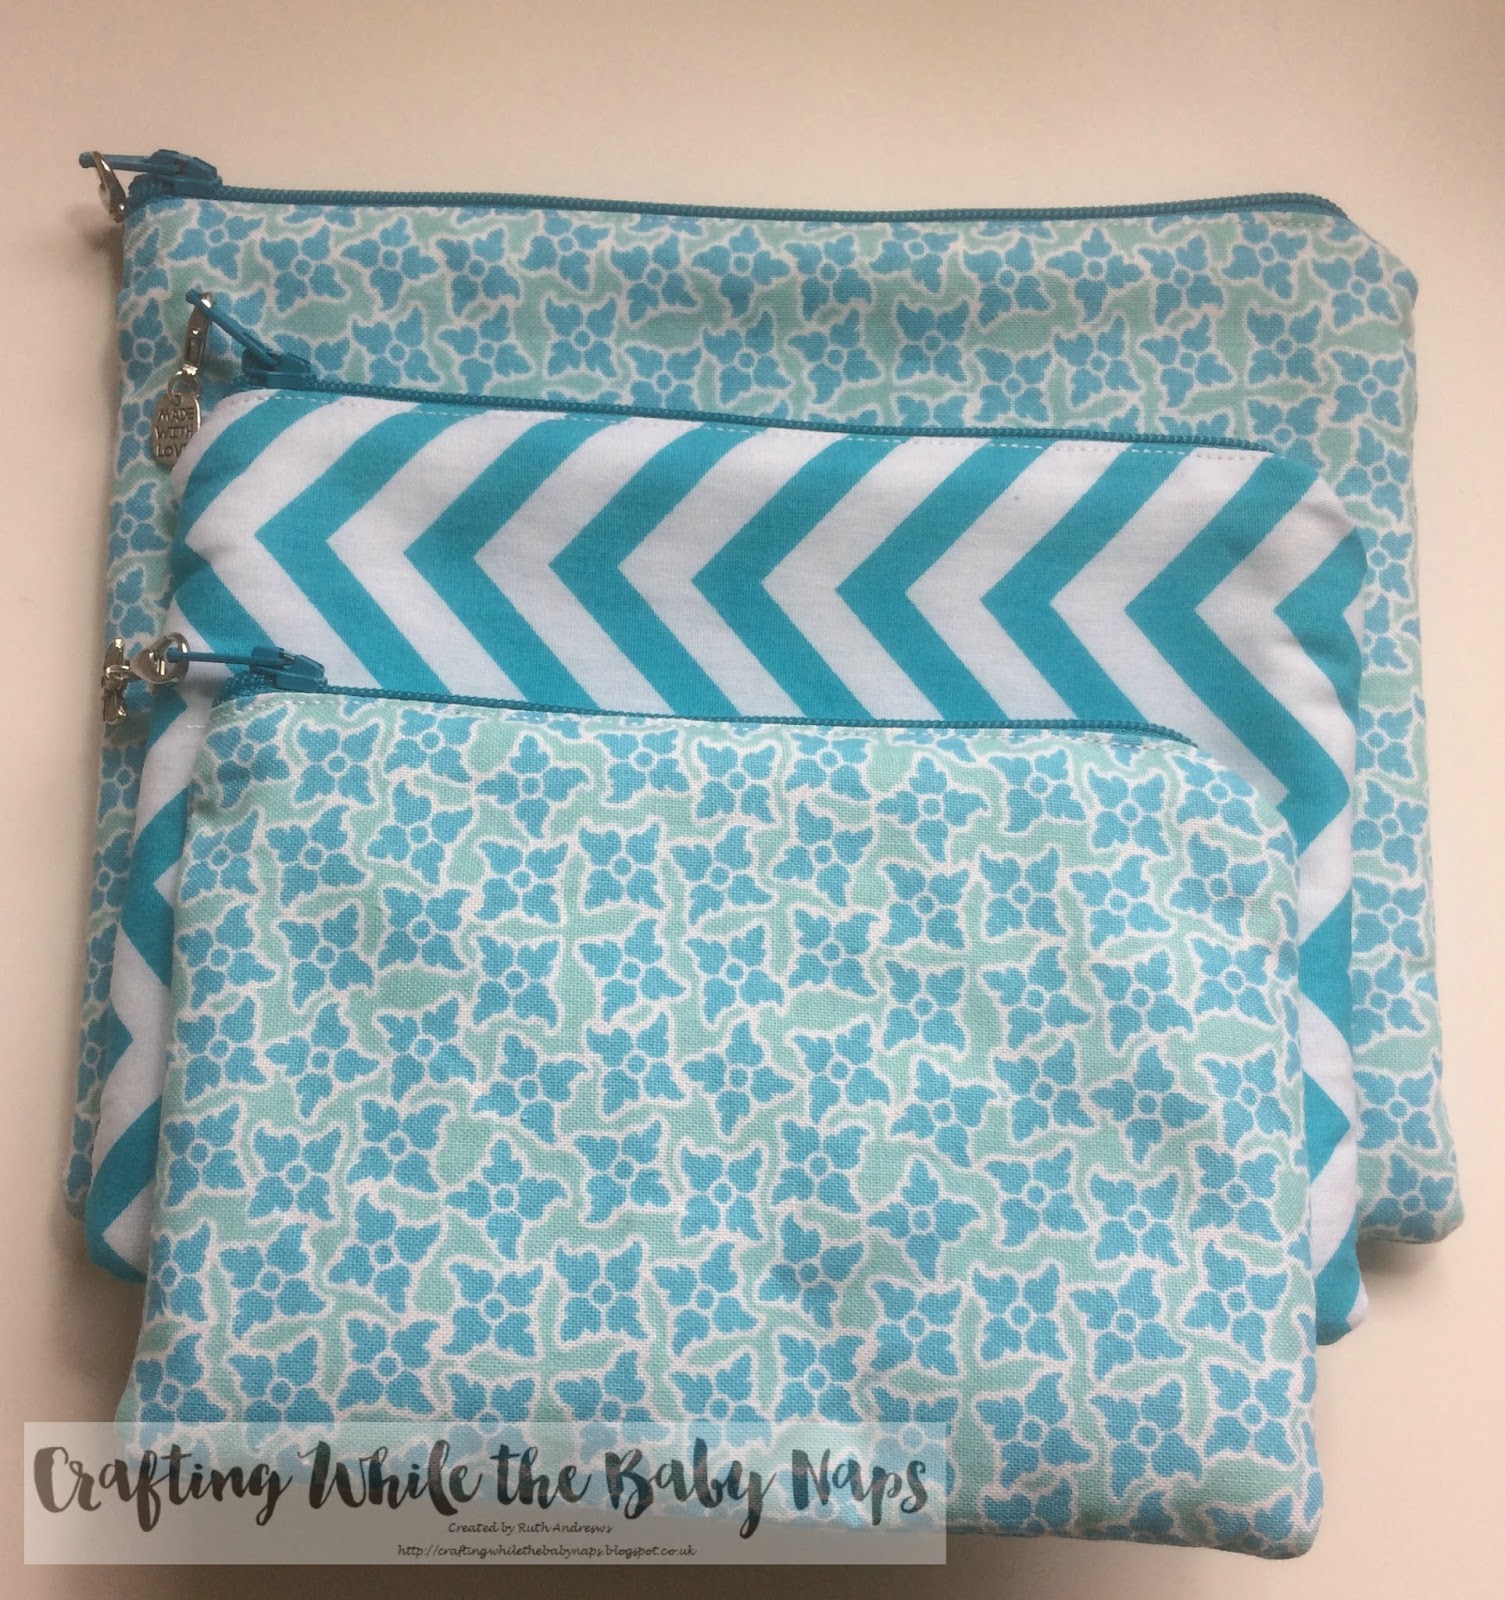
Why Hello! Yes, you have come to the right blog, it is me, Ruth, but I'm here with a non card making project and video. I'm showing you how I make my little zipper bags that I use to transport my Copic markers around when I go off travelling.
I filmed this a few weeks ago and thought it would be nice to share as I'm off to Edinburgh on 26th so I can get to the Daily Marker Coloring Challenge Road Trip with Kathy Racoosin and Debby Hughes on the Sunday. Big thank you for my husband for doing his duty at bath time over the weekend :) To say I'm excited is an understatement!!
I make these bags based on a You Tube tutorial I saw by Made Everyday and I thought I'd share with you how I do it, in case you feel inspired to make your own. With a little bit of practice for the zip and if you go slow and steady with your sewing, you can make these quite easily.
This is what I use to make them:
Quilter's Ruler
Rotary Cutter
Cutting Mat
2 fat quarters
3 zips the length of your finished bag. I use 8,7 and 6 inch zips (the whole zip will be about an inch longer)
Quilter's clips/pins - I use a combination of both
Fusible fleece
Thread - I generally just use white, but you can use a matching colour
Iron and ironing board
Sewing machine
Zipper foot
The video shows the process, as you can make these any size you like, but I can make 3 bags from two fat quarters. My finished bags measure 8x6, 7x5 and 6x4 inches.
Fold each fat quarter in half length ways right sides together and iron them before cutting. With the fold to the bottom of the cutting mat, place it just slightly overhanging the bottom. You will trim it to separate the pieces later. Then cut out your pieces as mentioned below. If you cut it this way you will get the number of pieces you need.
This close up shows how you measure 9 inches up the side and then cut along 7 inches.
An 8x6 bag will need two outer pieces measuring 9x7; two lining pieces measuring 9x7 and two 8x6 pieces of fusible fleece. You will need an 8 inch zip.
A 7x5 bag will need two outer pieces measuring 8x6; two lining pieces measuring 8x6 and two pieces of fusible fleece measuring 7x5. You will need a 7 inch zip.
A 6x4 bag will need two outer pieces measuring 7x5;two lining pieces measuring 7x5 and two pieces of fusible fleece measuring 6x4. You will need a 6 inch zip.
Here's the video which shows how you make them up - you'll see more clearly the sizes I've mentioned above.
I have been sending these out as presents to friends, but some friends have suggested selling them, so I may one day.
Happy crafting! I will update my blog with details of the coloring challenge road trip when I return at the start of next week.
Hello Everyone! I am enjoying seeing all your fabulous cards for our 11th challenge. How quickly the time has gone! You still have time to join in this month. As usual the challenge ends on 25th of the month.
This card uses lots of those little stamps that you get in sets and often ignore - well I know I do. I won this set on an Instagram giveaway from the very lovely Rowena. If you don't know her stuff, please do check her feed out. She is very talented!
I started by picking three of the tiny little stamps in the set and stamping them in a fairly random organised manner on a panel of Copic friendly paper. I tried pretty successfully to avoid the same stamps next to each other!
I coloured them in with very basic Copic colouring - either one or at most two colours. I then cut out the panel with my WPlus9 Sunshine Layers die.
I decided I needed to colour the Big Bear and Bird and give him a flower to hold. I used Kathy Racoosin's rag technique with colourless blender to give him some texture for fur.
Again no sentiment - I just can't seem to think of them at all!
Looking forward to seeing what you create. Happy crafting everyone!
Hello Everyone! Welcome back to another Flower Challenge. This time we are focussing on background stamping. I confess that when I make cards, I often see the background, well as background, so it was refreshing to try to put it in the limelight.
I must apologise because the photographs are quite bleached out owing to the sun - shouldn't complain, should I! As you can see, I made two very similar cards using the WPlus9 DoodleBuds stamp set. The first is done with Hero Arts Soft Pool ink on a light blue card base, the other is the same ink on Neenah. I simply stamped all the different stamps from the set across each card panel, fitting them in as well as I could. I was really pleased with the result.
With the tone on tone card, I originally embossed the word 'blessed', but it looked odd, so I added the black die cut on top with the additional words embossed on a piece of the same cardstock. I did the same with the other card.
You have until 25th as usual to link up your project and I hope that you've got some inspiration from myself and the rest of the fabulous Design Team. Happy crafting!